Accounts & Transfers
Learn how to manage your accounts in Zerosum. Add and organize budget, tracking, and loan accounts.
Written By Pedro
Last updated 4 days ago
Zerosum tracks all your money in one place. Budget accounts, credit cards, investments, and loans all contribute to your complete financial picture. This guide covers the account types, how to add them, and how transfers, reconciling, and grouping work.
Types of accounts
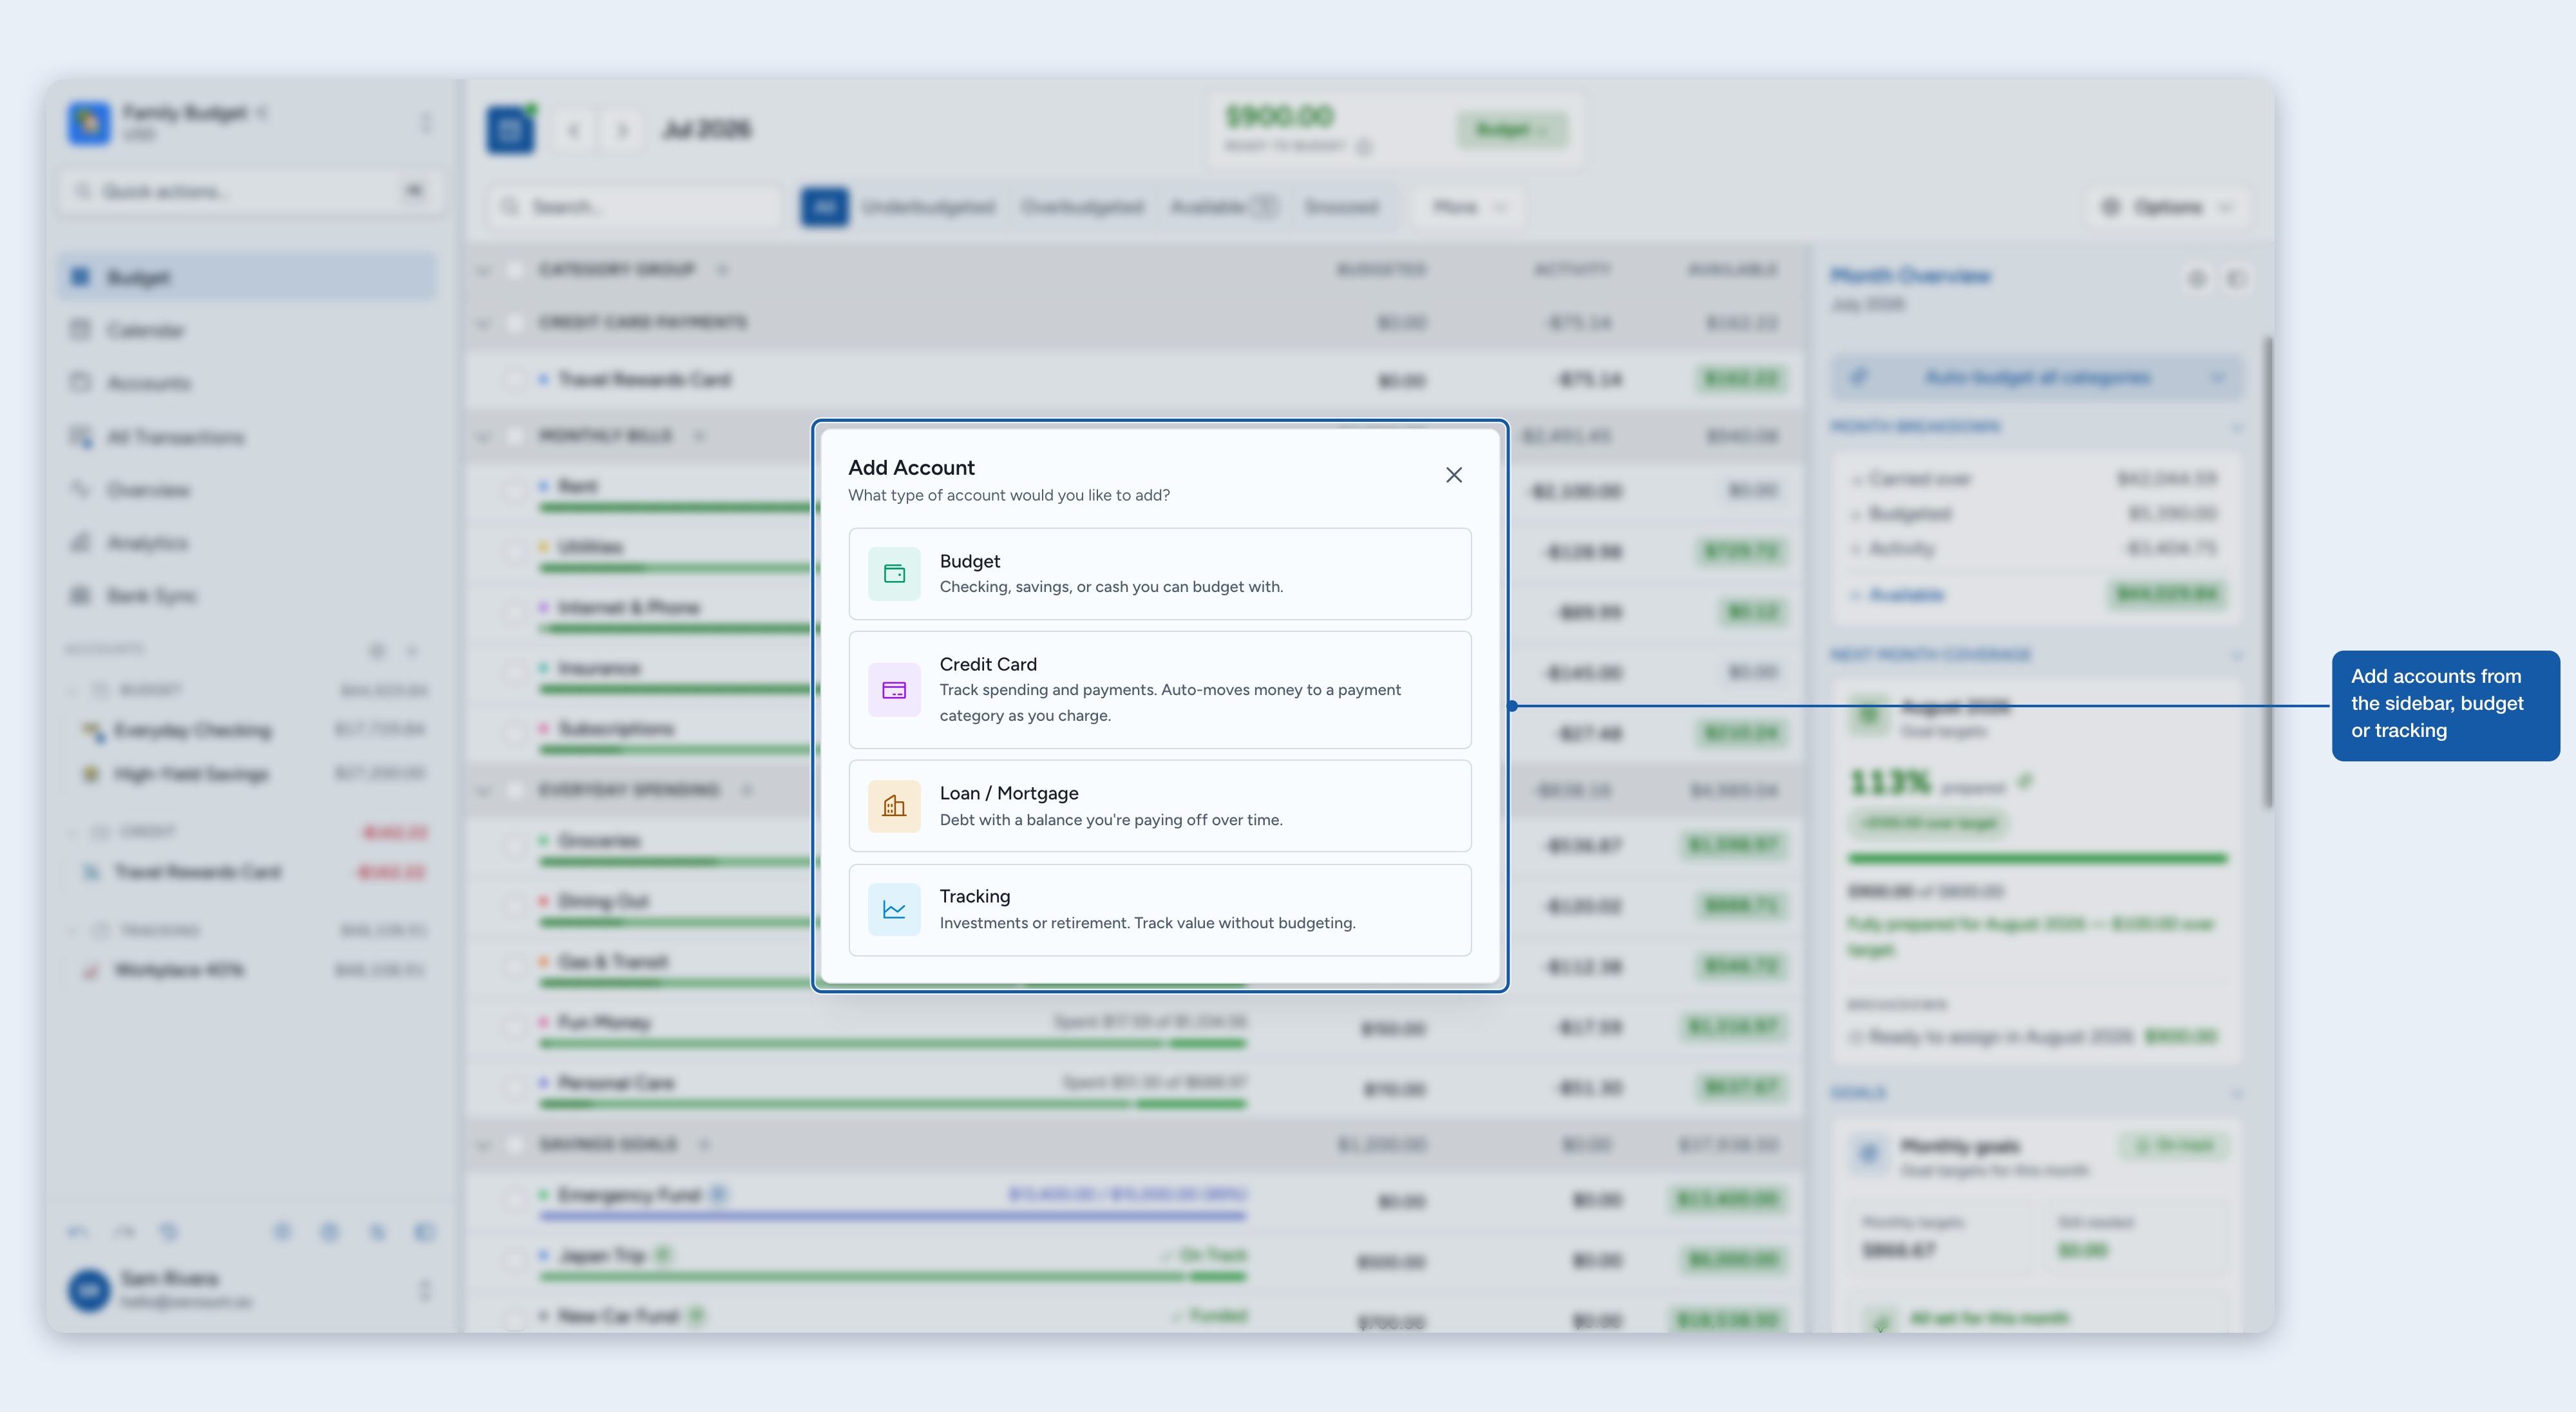
Zerosum has four account types:
Budget: Day-to-day spending money you actively manage: checking, savings, and cash. Spending updates your category balances.
Credit Card: Track credit-card spending with automatic movement of budgeted category money into a per-card payment envelope. Best if you carry a balance. Cards can also be added as budget accounts for the simpler "pay in full" model; see Credit Cards.
Tracking: Things you track for net worth outside your budget: investments, property, retirement, or debts you only watch. Mark each as an asset or a liability (asset by default). No budget impact, but you can set a category when transferring money in from a budget account (the "savings as spending" pattern).
Loan / Mortgage: Debt you're actively paying off, with interest rates, monthly interest and escrow estimates, and payoff tracking: mortgages, student loans, and car loans.
Adding accounts
Click the + (Add account) button in the sidebar's Accounts header, then choose the account type: Budget, Credit Card, Loan / Mortgage, or Tracking.
Enter a name and Working balance. For Budget, Credit Card, and Tracking accounts, this is the total of approved cleared and uncleared transactions. On a credit card, enter the balance you currently owe. Add notes if you like. See Understanding account balances.
Save. Your account is ready to use. You can give it an emoji or a custom image later from the account's Edit dialog.
What happens to starting balances
Budget account: The balance goes to Ready to Budget for you to budget to categories.
Credit card account: Existing debt is recorded on the card with no effect on Ready to Budget. Budget money to the card's payment category over time to pay it down.
Tracking account: Appears in net worth only, with no budget impact. Net worth follows the actual balance, so record a debt as a negative number for it to count against you. The asset-or-liability setting is for analytics reports, not net worth.
Loan account: Stored as debt (negative), with no budget impact.
Account icons and images
Every account carries an icon that follows it everywhere it appears: the sidebar, account pickers, registers, transfers, analytics, and the calendar. Set one from the account's Edit dialog using the Icon control, which offers three modes.
Default: no custom icon. Bank-synced accounts show their institution's logo; every other account shows the first letter of its name.
Emoji: pick one from the emoji grid, or type your own single emoji.
Custom: upload your own picture. Choose a PNG, JPEG, WebP, or GIF up to 10 MB; Zerosum resizes it to a square 256×256 image and uses the first frame of a GIF. Use Replace image to swap the picture, or switch back to Default or Emoji to remove it.
ℹ️ Which one shows: a custom image wins when you've set one, then an emoji, then the linked bank's logo, and finally the account-name initial.
Favorites and the default account
Two small settings make adding transactions faster: starring the accounts you use most, and choosing which account new transactions start on.
Favorite accounts
Star the accounts you reach for often to pin them to the top of the account picker, on desktop and mobile. Tap the star beside any account in the picker, or use the star in the account's Edit dialog, to favorite or unfavorite it.
Alphabetical: favorites sit in a Favorites section at the top, sorted by name; there's no manual order.
No duplicates: an account that's both a favorite and recent shows once, under Favorites, and Last used lists only non-favorites.
Hidden while searching: the Favorites section disappears the moment you type in the picker.
Favorites are picker organization only; they don't change which account new transactions start on. Loan accounts can't be favorited.
The default account for new transactions
Choose one account to start new transactions on when you add from the All Accounts view, before you pick a payee. Open the account's Edit dialog and turn on Use as default for new transactions. Only one account per budget can be the default; setting it on another account clears it from the previous one.
Any account except a loan: a credit card can be your default, not just a checking account.
Payees still win: if the payee you pick remembers its own account (see Account behavior), that account replaces the default; the default is just the starting point.
No default set: new transactions start on your first budget account, exactly as before.
ℹ️ Two different "defaults": Use as default for new transactions chooses which account is preselected. The separate New transaction default chooses whether that account's new transactions start cleared or uncleared.
Working with loans
Setting up a loan
Amount owed: What you owe right now (labeled Amount Owed when adding, Current Balance when editing).
Interest rate: The annual rate, not APR.
Minimum payment: The required monthly amount.
Payment category: The budget category for payments, linked on the Link Payment Category step.
Escrow (optional): turn on Payment includes taxes & insurance for mortgages.
ℹ️ Interest rate vs APR: Enter the interest rate, not APR. The interest rate is the basic annual rate on your balance. APR includes fees and is only for comparing loans.
Making payments
Budget money to your loan payment category.
Click Add Payment on the loan detail page (it opens the Record Payment dialog), or pick the loan from the Payee field when adding a transaction; loans appear under Transfers & Payments.
The payment reduces your loan balance. Interest and escrow are estimated monthly on the loan detail page.
💡 Tip: Extra payments go entirely to principal, saving you interest. Set a goal on your loan category for at least the minimum payment.
💡 Tip: Once you've recorded a loan payment, right-click it and select Make recurring to schedule future payments automatically. Set it to monthly on the day your mortgage or loan auto-pays. Each occurrence creates the matching transfer pair, so your loan balance, interest estimate, and category activity all stay in sync. Scheduled payments show in the "Upcoming" card on the loan page until their date arrives.
Loan detail page
Each loan has a detail page. Its Payment History section shows monthly-grouped activity:
Payments: Money you've sent to the loan from your budget accounts (each shows as "Payment from …").
Monthly Interest: Estimated from your interest rate, or recorded if you add an interest charge.
Monthly Escrow: Estimated from your escrow amount (mortgages only).
Adjustments: Charges, credits, and balance adjustments.
Loan opened: The starting balance, shown in the loan's first month.
Upcoming: Scheduled payments that haven't arrived yet. They don't affect the balance until their date comes.
Use Add Adjustment to record charges (fees, penalties) or credits (refunds, overpayments) directly on the loan account.
💡 Tip: All loan activity is editable. On desktop, hover to see the pencil icon or right-click for Edit/Delete; on mobile, tap any row to edit. Interest and escrow estimates can be overridden with the actual amount and date from your statement. Enter 0 if nothing was charged that month, or delete the entry to go back to the estimate.
💡 Tip: New loans start today, but you can rebuild the real history. Edit the "Loan opened" row to set the original balance and the actual start date, then add past payments. Every month recalculates automatically. Activity can't be dated before the start date, and the start date can't move past existing activity.
Balance forecast
The Balance Forecast chart shows three lines to help you track your progress:
Recorded Balance: Your actual balance history from when the loan started.
Minimum Only: What the loan would look like paying the minimum from the start.
Your Pace: Projected payoff based on your recent payment amounts.
Open the What-If Simulator to simulate different payment amounts or set a target payoff date.
Transfers between accounts
Transfers move money between accounts. The budget impact depends on the account types:
Budget ↔ Budget: No budget impact; money just moves between accounts.
Budget → Tracking: Money leaves your budget. Set a category (e.g. "Savings") to have it count as spending on that category, the "savings as spending" pattern.
Tracking → Budget: Money enters your budget; budget it to categories.
Budget → Loan: A loan payment, using your linked category.
Creating a transfer
Go to either account and add a transaction.
In the Payee field, pick the other account; accounts appear under Transfers & Payments.
Enter the amount and save.
Transfers create linked transactions in both accounts. Deleting one deletes both.
Reconciling accounts
Compare Zerosum's Cleared balance with the bank balance that includes posted transactions but excludes pending transactions. If they match, Zerosum locks every cleared transaction with no adjustment. If they do not, investigate the difference before choosing an adjustment. Do not edit the Working balance merely to match a bank balance that excludes pending activity. Read the full reconcile guide.
New transaction default
Each account decides whether transactions you add by hand start cleared or uncleared. Open the account's edit dialog and set its New transaction default. New accounts start uncleared; set a cash account to start cleared if you reconcile it as you spend. On a cleared-default account this also applies to scheduled and recurring entries, which save cleared instead of waiting to post, and to transfers you record into the account. Bank-synced transactions always keep the cleared state your bank reports.
Closing accounts
Open the account's Edit dialog and click Close Account.
If the balance isn't zero, Zerosum creates an adjustment to zero it out and the button reads Close & Adjust. The account moves to the Closed section in the sidebar with history preserved.
💡 Tip: Don't delete accounts: closing preserves your transaction history and keeps reports accurate.
Grouping accounts
If you have lots of accounts (multiple checking accounts, several ISAs, brokerages across different providers), you can organize them into named groups inside each type bucket. Groups collapse independently and keep the sidebar tidy without mixing Budget, Tracking, and Loan together.
ℹ️ Opt-in: Groups are invisible until you create one. If you have only a few accounts, your sidebar looks exactly as it always has.
The Manage accounts dialog
All group management (creating, renaming, deleting, reordering, and moving accounts in or out of groups) happens in the Manage accounts dialog. The sidebar itself is navigation only; it stays calm and clutter-free regardless of how many groups you have.
Open the dialog from the gear icon (Manage accounts) in the sidebar's Accounts header, next to the + Add button. On mobile it opens as a bottom sheet instead of a dialog.
Creating a group
Open the Manage accounts dialog and switch to the tab for the type you want (Budget, Credit, Loan, or Tracking).
Click New group in the top-right, type a name (up to 40 characters), and confirm with ✓ or Enter.
The new group appears empty. Drag any account row (from Ungrouped or from another group) into the new group's card to populate it.
Rules
Groups stay within a type. A group lives inside Budget, Credit, Loan, or Tracking; you can't mix types in one group.
Ungrouped is always visible. In the dialog, Ungrouped shows as its own card (even when empty) so you always have a place to drop accounts back out of a group.
In the sidebar, ungrouped accounts come first. Inside each type bucket, accounts without a group render before the groups below.
Empty groups are allowed. Create an empty group first, then populate it on your schedule. Delete an empty group from its kebab (⋯) menu when you're done.
Closing preserves membership. A closed account keeps its group; when you reopen it, it returns to the same place.
Reorganizing
Everything here happens inside the Manage accounts dialog:
Move accounts between groups: Grab an account's grip handle and drop it onto a different group's card, or back into Ungrouped. Works within the account's type tab only.
Reorder groups: Grab a group card by its grip handle and drag it up or down. Groups reorder independently per type tab.
Rename or delete: Each group's kebab (⋯) menu, shown on hover in the group header, opens Rename and Delete group. Deleting a group returns its members to Ungrouped; account data is preserved.
Groups in analytics and filter popovers
Wherever you pick accounts (analytics filters, transaction filters, dashboard widget settings), your groups appear as labeled sub-headers with their own checkbox, so one click selects or clears a whole group. Select all / Select none cover the whole list (while you search, the buttons act only on the shown results), and changes apply when you click Done.